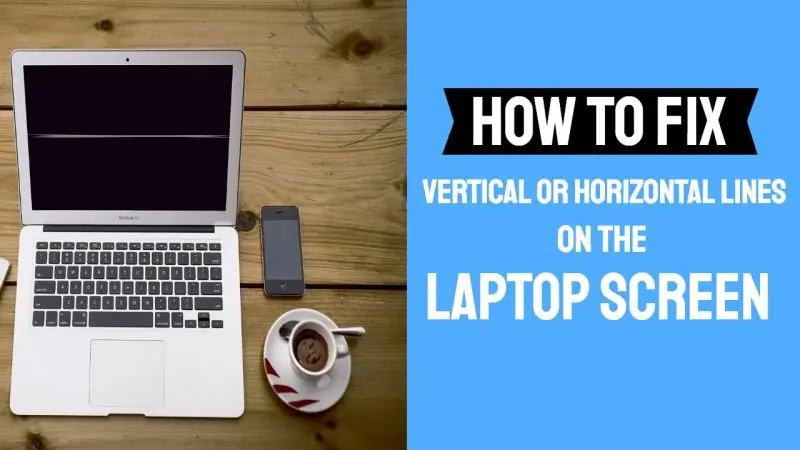
The irritating horizontal lines in Windows 10 screens can have many reasons. The main reasons are software incompatibilities, faulty graphics card drivers, defective ribbon cables, video cable connection not appropriately done, damage to the screen, or hardware failure. But, you do not need to worry; it is not so hard to fix the problem. You can use the following solutions to improve horizontal lines that appear on your Windows 10 screen.
I am sharing some of the solutions that might help you out. You don’t have to try all of them; keep pushing until your problem isn’t solved.

Update the Graphics Driver
This complication is caused by using the wrong graphic driver or if your driver is not updated. So firstly, you should update your driver and see if that has solved your problem or not. If you do not have the time, tolerance, or skills to update your driver on your own, you can do it automatically with Driver Easy.
Drive Easy will recognize your system and will search for the correct drivers for it. You do not need to know what system your computer is running; you do not need to take the chance of downloading or installing the wrong driver, and you also do not need to worry about committing a mistake while installing it. It is all in the hands of Driver Easy.
It Can update drivers automatically either with the Free or Pro version of Driver Easy. In the Pro Version, it only takes two clicks.
- Download and install the Driver Easy.
- Run the Driver Easy and then click on Scan Now. Driver Easy will now investigate your computer and will search for the problem driver.
- To get all the updated versions of the driver installed and downloaded that are missing, click on Update All. (This will need the Pro Version, it will ask you to update when you click on Update All)
- Restart your system and see if the horizontal lines have been removed. If yes. Congratulations! You have found the solution to your problem. If no, then jump to the next fix and try that out.
Adjust your screen resolution
Another solution is that you can adjust your screen to the proposed resolution. Here are the steps to do so-
Windows 10 users
- Right-click on the screen. Then click on Display settings.
- In the resolution, click on the drop-down menu and make sure the recommended resolution is selected. Then see if the horizontal lines have been removed.
Windows 7/8 Users
- Right-click on the screen. Then click on screen resolution.
- Regulate the screen resolution and see if the horizon lines have disappeared.
RELATED: How to Use Laptop as Monitor
Fix Vertical or Horizontal Lines on the Laptop Screen
For many of the users, updating graphics drivers or changing the screen resolution was helpful. But if you are still having the same problem, try the methods that I am mentioning below.
Method 1: Wipe the screen
Turn off your computer and get some cotton balls to clean the screen gently. Make sure to do everything very carefully so that you don’t cause any other damage to the screen; after doing so, power on your computer and see if you are still facing the same issue. If yes, don’t get upset; try doing the other workaround.
Method 2: Update the Video Card
If you are still facing horizontal lines, then it might be due to a faulty video card. Therefore, I advise you to upgrade it to the latest and most compatible version. You can use dedicated driver updater software like Smart Driver Care or Advanced Driver Update. It will automatically install the latest drivers for your computer.
Method 3: Replace Ribbon Cable
Just imagine you still haven’t found the solution for this irritating display problem. It can also occur because of a faulty Ribbon cable connected to the laptop’s screen to its motherboard. Therefore, you can purchase a new Ribbon Cable within $25, and you can get it installed quickly.
________________________________________________________________________
That’s it – these are the fixes for you to remove the horizontal line from your system’s screen. Is your problem solved successfully? Please let us know in the comments.
Thanks for reading!
