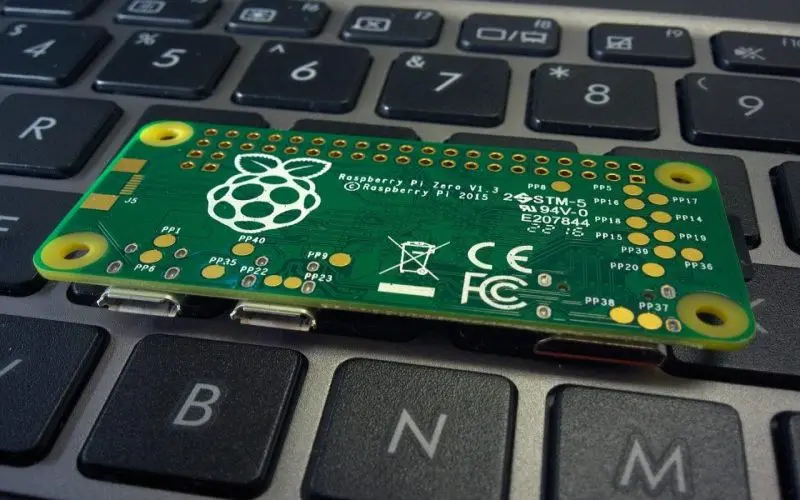
This is a guide which includes all the methods through which you can connect Raspberry Pi to a Laptop’s Display.
A raspberry pi is a series of single-board computers invented to create easy access to computing education and affordable for many countries who were unable to afford the large setup of the computer .it was invented by a UK charity named raspberry pi foundation and was launched in the year 2012. The raspberry pi was mainly used for programming and coding all over the world. It is all used for many other purposes such as in building hardware projects and other industrial applications. As compared to the other computers, raspberry pi is a very cheap computer which is consists of input/output pins used for connecting different physical components or hardware and also explores the internet through {IOT}.
To establish the connection between raspberry pi and laptop, you will need the following medium and components.
Raspberry pi
Laptop
Ethernet cable
Raspbian installed SD card
Micro USB cable
HDMI/AV Display
Keyboard
Mouse
Connect Raspberry Pi 4 to Laptop Display
Firstly perform the basic setup
Connect Raspberry Pi to laptop display, you will need an SD card in which operating system has been already installed.
- Insert the SD card into the raspberry pi
- For powering the raspberry pi connect the micro USB cable to it
- Now connect the raspberry pi to the laptop using the Ethernet cable
- Connect the hardware stuff such as mouse and keyboard
- Connect HDMI DISPLAY [if you are running the raspberry pi for the first time]
- For powering your pi, connect the USB power adapter to your pi and then connect it with the router
Establish the connection between the Ethernet port of your raspberry pi to the LAN port of your router
Now, navigate your raspberry pi IP address by following the given steps.
- Go to your browser
- Look for your router IP
- Create a login to your router settings
- Navigate to LAN ports
- Search the list to find raspberry pi and note down the IP address
Also Read: Raspberry Pi under voltage detected
Using putty or any other software, create an SSH format connection with your pi
Now, open the putty software and go through the following steps.
- Type the raspberry pi IP address which you have noted previously
- Open it and type in “pi” as user name and “raspberry pi” as password
- Your login to raspberry pi is successfully done
- Type the command sudo apt-get install tightvncserver
- Verify your password and note down the desktop number
Using vnc viewer software, you can view pi screen in your laptop
Open vnc viewer software and follow the steps given below
- Type the IP address of raspberry pi with the desktop number as xxx.xxx.x.xxx.y where x is IP address whereas y denotes the desktop number
- Click on connect
- Enter the password and proceed further
Now you are in front of your raspberry pi monitor.


