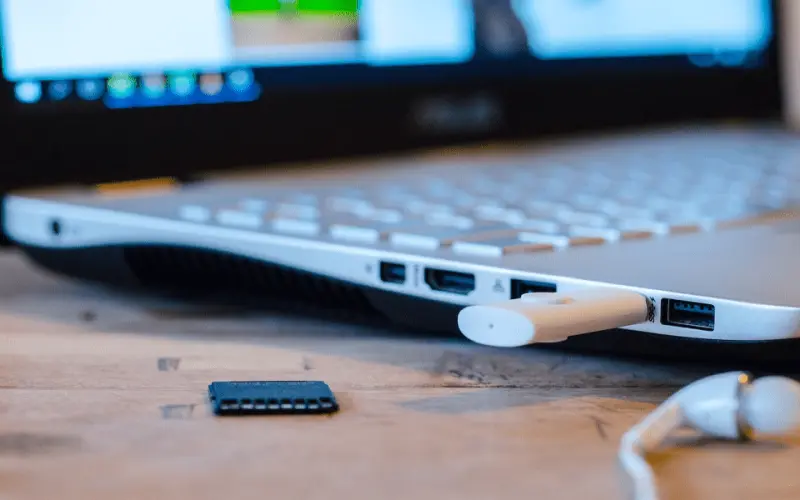
Nowadays, nobody uses CD or DVD drive; this is a step-by-step guide to make a Windows 11 bootable USB Flash Drive using Rufus.

Windows 11 was created to help you connect with the people and things you love at a time when the PC plays a more significant role in our lives.
Microsoft has simplified the Windows 11 design and user experience to delegate your productivity and motivate your creativity. It’s stylish, clean, fresh, and beautiful.
You will need bootable USB media to install Windows 11 onto a Computer or Laptop .
Bootable USB Installation Media is the best way to install Windows 11 onto a Computer. You have several options to make a USB flash drive to install Windows 11. The easiest way is to create Windows 11 Bootable USB flash drive with Media Creation Tool but using Rufus, you can also bypass the TPM 2.0 and Secure Boot requirements.
This guide will show you how to create a USB-bootable media for Windows 11 with UEFI support. Visit this video tutorial on the Digital dopes YouTube channel for more details.
Download the Official Windows 11 ISO File
- Navigate to the Microsoft Download Webpage.
- Next, scroll to Download Windows 11 Disk Image (ISO).
 Select Windows 11 (multi-edition ISO) from the drop-down menu and click Download.

- After that, prefer your suitable language in which you want to download the ISO file and hit Confirm button.

- Finally, click on 64-bit Download to start the download.
- The download will begin immediately. It may take some time depending on how fast your Internet is.

Now you need to copy the ISO files into a USB Flash drive and make a Bootable Windows 11 USB Pen Drive; for this purpose, we will use Rufus, a software used to create bootable USB drives.
Create a Bootable USB Flash Drive from Windows 11 ISO File Using Rufus
Follow the steps to Make Windows 11 bootable USB with Rufus.
- First, go to the Rufus webpage.

- Next, scroll to the download section, click on the first link to download the latest one, and save it to your PC.

- Now, double-click on the rufus.exe file to launch it.

- Now, plug in an empty USB flash drive at least 8 Gb in your system.
- Select your USB from the Device drop-down menu.

- Under Boot selection, ensure Disk or ISO image option is selected. If not, then choose it from the drop-down menu.

- Click on Select beside Boot selection, pick the Windows 11 ISO file, and hit the Open button.

- Under Image selection, ensure Standard Windows 11 Installation (TPM 2.0 + Secure Boot) is selected. If not, then select it from the drop-down menu.

- Tips:- Choose Extended Windows 11 Installation (no TPM / no Secure Boot) to make a bootable media drive for unsupported computers or laptops. It will skip the minimum system requirements for Windows 11.

- Now, leave Partition Scheme (GPT) and Target System (UEFI) as default.
- You can change the name of the bootable drive under the Volume label.

- Leave File System and Cluster size as usual.
- After that, make sure Quick Format and Create extended Label and Icon Files options are checked.
- Ultimately, click on the Start button to begin the process.

- Note:- You will see a warning that all data will be deleted. Click OK to create an ISO image of your USB.

- Rufus will display a Ready message after the process is over and a Windows 11 Bootable USB is successfully created.

Install Windows 11 from Bootable USB Drive
Now you have the Bootable USB for Windows 11, the next step will be to install Windows 11 from USB; for that, you will need to enable USB Boot and select USB as 1st boot device in BIOS settings, Restart the system to boot from the USB drive and follow the on-screen instructions to install Windows 11 on your system.
More from Digital Dopes:

