Subscribe to Updates

    Get the latest creative news from FooBar about art, design and business.

    What's Hot

    Best Billing and Invoicing Apps for Android Users

    January 17, 2023

    Why my headphone jack is not working – How to Fix

    December 17, 2022

    How to create & edit videos even if you are not a video-editor

    December 15, 2022
    Facebook Twitter Instagram
    Facebook Twitter Instagram Pinterest YouTube
    Digital Dopes
    Subscribe Login
    • Home
    • Blog
    • Windows 11
    • How-to Articles
    • Hardware
      • Laptop
      • Raspberry Pi
      • Motherboard
      • Smart Device
      • Mouse
      • RAM
      • Printer
    • Apps
    • Contact Us
    Digital Dopes
    How to Enable Automatically Hide the Taskbar Feature in Windows 11
    How-to

    How to Enable Automatically Hide the Taskbar Feature in Windows 11

    Nilesh RanjanBy Nilesh RanjanJuly 25, 2021No Comments3 Mins Read
    Facebook Twitter Pinterest LinkedIn Tumblr WhatsApp Email Reddit
    Share
    Facebook Twitter LinkedIn Pinterest WhatsApp Reddit Email

    Most users see the Windows 11 taskbar on their Computer every day. It is possible that most users are not aware that the taskbar can hide, and others prefer a more static interface.
    Hide the taskbar to make room for some extra space on your desktop that application windows may use. If you prefer your desktop tidy, it may also look better.
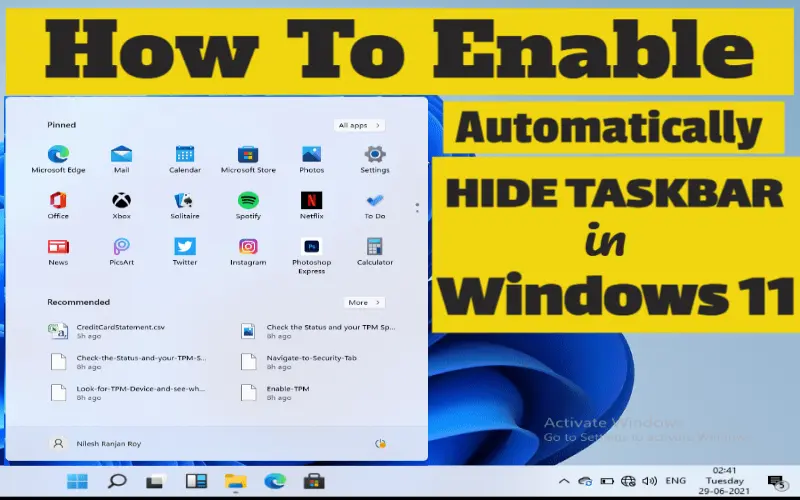
    How to Enable Automatically Hide the Taskbar Feature in Windows 11

    Windows 11 has an option that will hide the taskbar automatically. It will disappear to the edges of the screen when taskbar activities stop, and if it loses focus, at that moment, taskbar visibility is not required.

    Windows 11 features many visual improvements and redesigns that make it more modern and cohesive. The downside to the improved appearance is that you will need to learn to find different settings in Windows 11, and of course, if you are still using Windows 10, I strongly recommend you upgrade to Microsoft Windows 11.

    Microsoft’s new OS has a brand new settings app that features repositioned sections and new design elements, and updated logic. This radical change could cause issues for regular users when trying to find popular settings. This article will explain how to disable or enable taskbar auto-hide on Windows 11.

    Enable Automatically Hide Taskbar in Windows 11

    Windows 10 makes it easy to enable the taskbar auto-hide feature, and it takes only two clicks. Just right-click on the top of the Taskbar and go to Taskbar Settings. Then enable the automatically hide taskbar option.
    Windows 11 is a little different. Follow the steps to Enable Automatically Hide the Taskbar feature in Windows 11:

    Step 1: Open Settings

    Click on the Start Menu and then click on Settings.
    Open Settings

    Step 2: Open Personalization Settings.

    On the left side inside the settings window, you will find the Personalization Option, click on it.
    Open Personalization Settings

    Step 4: Tap on Taskbar Settings.

    Navigate to the Taskbar Tab to open Taskbar Settings.
    Tap on Taskbar Settings

    Step 5: Tap on Taskbar behaviors Settings.

    Now click or Tap on the Taskbar behaviors Option, which contains all the taskbar behaviors customization options in Windows 11.

    Tap on Taskbar behaviors Settings

    Step 6: Enable Automatically Hide the Taskbar Feature.

    Enable Automatically Hide the Taskbar Feature

    Among all the taskbar settings, you need to find and tick “Automatically hide the taskbar” to Enable Auto Hide Taskbar in Windows 11.

    Enable Automatically Hide the Taskbar in Windows 11

    Note: Just after you enable “Automatically hide the taskbar” feature, the taskbar will shrink down, and you need to hover the mouse over the taskbar area to see the taskbar again.

    More From Digital Dopes:

    • How to Take a Screenshot on Windows 11
    • How to turn on Bluetooth in Windows 11
    • Fix This PC Can’t Run Windows 11
    • How to Enable Hibernate on Windows 11
    Share. Facebook Twitter Pinterest LinkedIn Tumblr WhatsApp Email
    Previous ArticleHow to Upgrade to Windows 11 From Windows 10 Using Windows Insider Program
    Next Article How to Change Mouse Sensitivity and Pointer Speed on Windows 11
    Nilesh Ranjan
    • Website

    Related Posts

    Why my headphone jack is not working – How to Fix

    December 17, 2022

    How to create & edit videos even if you are not a video-editor

    December 15, 2022

    Is Windows Security secure enough nowadays?

    October 13, 2022

    Best Free Media Players For Windows 11 (2022)

    August 20, 2022

    Leave A Reply Cancel Reply

    Our Picks
    • Facebook
    • Twitter
    • Pinterest
    • Instagram
    • YouTube
    • Vimeo
    Don't Miss
    Apps

    Best Billing and Invoicing Apps for Android Users

    By Nilesh RanjanJanuary 17, 20230

    Best Billing and Invoicing Apps for Android Users Businesses these days need modern invoicing solutions…

    Why my headphone jack is not working – How to Fix

    December 17, 2022

    How to create & edit videos even if you are not a video-editor

    December 15, 2022

    Is Windows Security secure enough nowadays?

    October 13, 2022

    Subscribe to Updates

    Get the latest creative news from SmartMag about art & design.

    About Us
    Our Picks
    New Comments
    • whatpeopleask on How to Set up and Add Dropbox to File Explorer in Windows 11
    • Rahul Kumar Singh on How to Set up and Add Dropbox to File Explorer in Windows 11
    • Auslandsumzug on How to Set up and Add Dropbox to File Explorer in Windows 11
    • Nilesh R Roy on How to Install Windows 11 from USB on a HP Laptop
    © Copyright Digital Dopes 2023
    • Home
    • Blog
    • Terms and Conditions
    • About Us
    • Privacy Policy
    • Sitemap
    • Contact Us

    Type above and press Enter to search. Press Esc to cancel.

    Go to mobile version

    Sign In or Register

    Welcome Back!

    Login to your account below.

    Lost password?