


Windows 11 is an excellent OS for gamers. It supports native games as well as retro titles and allows Xbox one streaming. It isn’t ideal right out of the box.
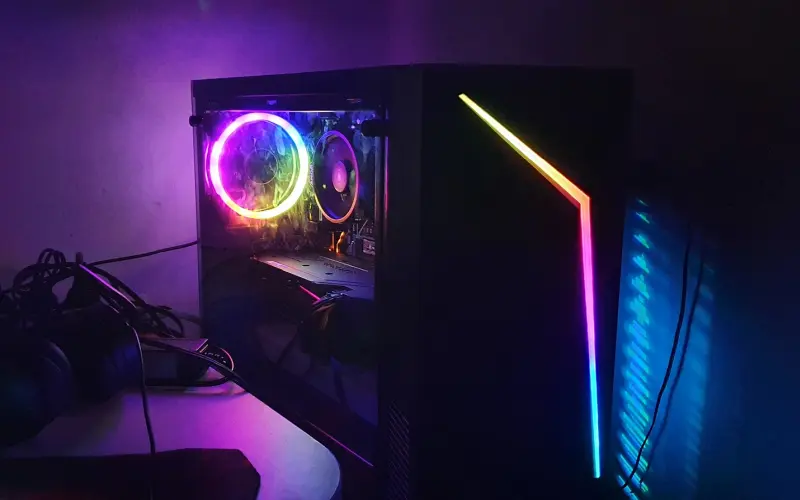
To enjoy the best gaming experience, Windows 11, you will need to make some adjustments. There are many ways to optimize Windows 11 for gaming and performance.

Haven’t you used Windows 11 yet? Click here to find out How to install Windows 11 from USB Flash Drive.
Optimize Windows 11 With Gaming Mode
- Click on Start and go to Settings or Press Windows key + I.

- Type game mode and select anyone from the option Game Mode settings or Turn on Game Mode.

- After that, turn on the Game Mode.

- Game Mode will allow your computer to manage its resources to achieve the best frame rate. Windows Update will also be suspended.


This is one way to increase gaming performance on Windows 11. Game Mode is not the best. Continue reading to learn more Windows 11 gaming tricks.
Disable Nagle’s Algorithm
Nagle’s algorithm bundles data packets to provide a faster internet connection. Although it’s advantageous, having Nagle’s algorithm enabled may cause latency issues when playing online games.
You can disable this feature and increase gaming performance on Windows 11 by checking your IP address.
- Right-click on Start button and go to Windows Terminal (Admin).


- Type ipconfig and press Enter key.
- Search for “IPv4 Address” and note it down to identify your PC’s IP address.


- After that, open Registry by following steps:
- Type registry on Search menu and hit Enter key.


- Follow the path or paste it in the Address bar:
- HKEY_LOCAL_MACHINE\SYSTEM\CurrentControlSet\Services\Tcpip\Parameters\Interfaces
Note: Address bar option is available under the View tab.
- You’ll find a list of folders in the left-hand pane. The filenames are composed of numbers and letters. Click on each folder to find and match your IP address next to DhcpIPAddress when you see your matching folder.
- Right-click on the folder, go to New then, select DWORD (32-bit) Value.


- After that, rename the file with TcpAckFrequency and press Enter.
- Again right-click on the same folder, go to New and then select DWORD (32-bit) Value.
- Name the file with TCPNoDelay and hit Enter.


- Double-click on each file and set the Value data to 1.


- This will disable Nagle’s Algorithm. Reset their Value data to 0 if you encounter any issues. They will be permanently disabled.
Optimize Windows 11 Online Gaming With Faster DNS
Network traffic can be a problem if you play online multiplayer or rely on remote servers for Windows 11 gaming.
Although upgrading to faster internet may be beneficial, making minor networking adjustments is quicker and more cost-effective.
- Open Settings by pressing Windows key + I.
- Go to Network & Internet then, Advanced network settings.

- Click on the Wi-Fi network and choose View additional Properties.

- Click on Edit beside DNS server assignment.

- Now, choose Manual by clicking on drop-down menu.

- After that, Turn on IPv4 toggle.

- Enter 1.1.1.1 and 1.0.0.1 in DNS server address.
- Click on Save then, close all Windows.


Open your default browser. Your internet speed should be faster.
Disable Automatic Updates for Better Windows 11 Gaming
Windows 11 will automatically upgrade your OS and set up a restart without you having to approve. This feature is not often activated, but you don’t want to be caught unprepared and lose your game save.
Automatic updates can restart Windows without warning. However, background updates may also limit your network connectivity.
You cannot stop automatic restart, but you can delay it. You can reduce the likelihood of Windows Update downloading interrupting your gaming performance.
- Right-click on Start button and go to Settings.

- Select Windows Update then, click on Advance option.

- Switch off “Restart this device as soon as possible when a restart is required to install an update.”
- Enable Update notifications (Windows will notify you when the system will restart after an update).
- Next, you can set Active hours. It won’t restart your device during these hours.


Disable Notifications in Windows 11
Windows 11’s Focus Assist feature lets you choose when and how you want to receive notifications.
Notifications are often accompanied by popups or chimes, which can disrupt games. Focus Assist can help minimize the impact of notifications. Focus Assist is a feature that allows you to control how much focus you give your work.
- Open Settings by pressing Windows key + I.
- Scroll and click on Focus assist.

- To hide all notifications, select Alarm only.


Tweak Windows 11 Visual Effects for Game Improvements
Your processing power can be controlled by your graphical user interfaces (GUI). Your Windows 11 appearance settings will impress by default.
A shiny GUI running in the background may cause conflicts between games running in the foreground and those running in the foreground. These settings can be adjusted to optimize Windows 11’s gaming performance.
- Right-click on Start button and select Settings.
- Type Performance and choose Adjust the appearance and performance of Windows.

- After that, choose Adjust for best performance and press Apply then, Ok.


Tweak Your Mouse Settings for Windows 11 Gaming
Windows 11 gaming performance could be affected by your mouse settings. Optimizing your mouse settings is a smart way to find out. A feature is known as pointer precision (or mouse acceleration) can affect how your mouse performs during games. This can be disabled to optimize Windows 11 gaming.
- Go to Settings and select Bluetooth & Devices.

- Click on Mouse then, click on Additional mouse option.

- Select Pointer Option tab.
- Uncheck Enhance pointer precision.
- Next, click on Apply, then, Ok.


Max Power Plan to Improve Windows 11 Gaming Performance
Because of their negligible effects, power options are often overlooked. While some gamers believe that adjusting for better performance is possible, others claim they don’t notice any change in their computer’s power settings.
Follow the methods to change your power settings:
- Go to Settings and select Power & battery.

- Click on drop-down menu beside Power mode on the right panel and choose Best performance.

This option will enable your computer to perform higher, even though it requires more energy and temperatures. That is why it is better to activate Windows 11 optimization on the desktop than on laptops.

Keep Your Windows 11 Drivers Updated for Improved Gaming Performance
Your PC’s GPU (Graphics Processing Unit) is the heart of your gaming experience. To keep your GPU running faster and more efficiently, you will need the most current Windows driver.
No matter how old or modern your graphics card is, you can benefit from constantly updated drivers.
- Right-click on your Desktop screen, then click on Display settings.

- Scroll down and go to Advance display settings.

- Next, click on Display adapter properties for Display 1.

- Select Properties then, go to Driver tab.
- After that, click on Update Driver.


Manufacturers often offer free updates for application and gaming software to keep your drivers updated.
It is recommended to install the chipset driver and LAN driver for your motherboard to get optimal performance. This is a good idea, as they are essential for gaming performance.
- Open PowerShell to check the chipset driver ( right-click on Start and select Windows Terminal (Admin).
- wmic baseboard get product,Manufacturer,version,serialnumber
- The command prompt will display the manufacturer and product names of your motherboard.


- To search for drivers online, list your manufacturer and product names. The software you need should be found on the Support Page of the manufacturer’s site.
- You will find the chipset drivers along with your onboard Ethernet drivers to ensure a high-quality internet connection.
Install DirectX 12 to Optimize for Gaming
It supports multiple GPUs and CPU cores, higher frame rates, lower power consumption, and enhanced graphics effects.
Follow the steps to check the latest version of DirectX:
- Right-click on Start button and select PowerShell.
- Type dxdiag and hit Enter key.
- When asked, click on YES.

- After few seconds DirectX Diagnostic Tool appears.


If DirectX 12 is not installed. Some changes may happen if you haven’t upgraded your Window. This can be fixed by:
- Go to Settings > Update & Security.
- Choose Check for updates on the right side.
- Wait till updates are complete.
- DirectX 12 automatically optimizes several gaming settings within Windows 11.
Prevent Steam from Auto-Updating Games
You’re likely using Windows to install and buy games through Steam.
The update feature is one of Steam’s biggest annoyances. It prevents you from stopping automatic updates across all of your games. This can eat up memory and limit network connectivity by background updates.
To stop Steam from updating your games in the background.
- Start the Steam client.
- Launch Steam, go to Settings, then click on Downloads.
- Next, untick Allow downloads during gameplay.
- Steam can also be stopped from downloading updates for unplayed games:
- Go to Steam Library then, right-click (underused but installed game), and select Properties.
- Next, search Automatic Updates and change to Only update this game when I launch it.
More from Digital Dopes:


