


When plugging a USB device, you see an error occurring and your USB device is not working. USB Device Not Recognized error is one of the most frequent Windows platforms. This article is a step-by-step guide to fix the USB Device Not Recognized Error In Windows 11, enabling you to use all USB devices.

Some users have to resolve the USB device error not recognized error from Windows 11. This problem occurs when users plug their USB drives into computers. This error message is displayed when they plug their USB drives into the ports.
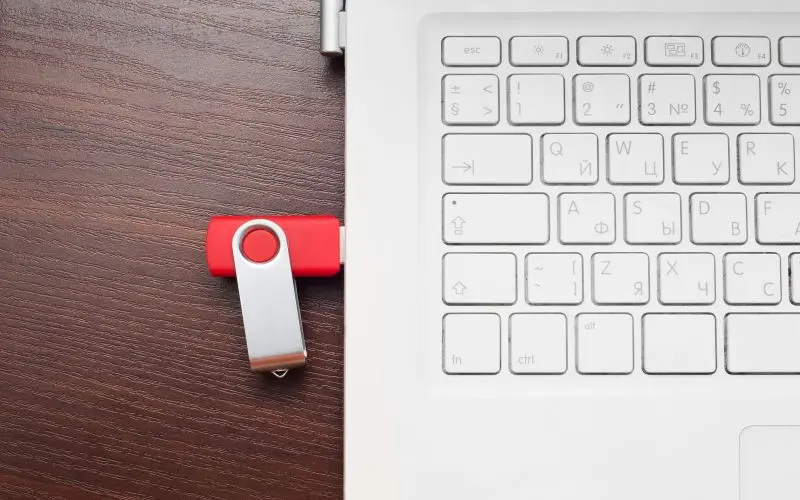
USB device not recognized. Windows cannot identify the last USB device you have connected to this computer.
Windows 11 does not recognize USB storage devices when this issue occurs. Users can’t access USB drives that File Explorer doesn’t recognize.
What causes the USB device not to identify in Windows 11?
USB controllers or device drivers often cause USB device errors. Also, certain power-saving features are often involved. These are just several of the possible causes:
- Outdated USB controller drivers:- It is possible that your PC’s USB hub drivers need updating.
- Faulty or incompatible USB port:- The USB port into which you are plugging your device might not be compatible with the storage drive.
- Faulty USB device driver:- Your USB storage device driver might be corrupt.
- Power management settings that turn off USB devices and hubs could cause the problem.
How to Fix USB Device Not Recognized Error in Windows 11
Plug-In the USB device into another USB ports
First, try plugging your USB device into alternative USB ports. It might not happen if you plug it into another port. One of the USB ports on your computer may be faulty.
It might be possible to replace the USB cable if an issue occurs with an external hard drive. Check the cable condition. To fix the problem, you might need a new USB cable.
Disable the selective suspend option
- Type edit power plan in the Search menu and hit Enter key.


- After that, click on Change advanced power settings link.


- Double-click on USB settings to expand.


- Next, double-click on the USB selective suspend setting to see settings.


- Now, select the Disabled option on the Setting drop-down menu.

- Hit Apply button, then click OK.
Change the power management for USB root hubs
- First, right-click on the Start button menu and select Device Manager.


- Next, click on the View tab and select Show hidden devices.


- After that, double-click on the Universal Serial Bus controllers to expand it.


- Now, right-click on the USB Root Hub and choose Properties.


- Move to the Power Management tab.
- Untick the checkbox that says Allow this computer to turn off this device to save power.


- Lastly, click Ok.
- Repeat these steps for all USB Root Hubs in Device Manage.
Allot a drive letter to the USB device
- Plug-In the USB storage device into your System.
- Right-click on the Start button menu and choose Disk Management.


- After that, right-click on your USB drive and select Change Drive Letter and Paths.


- Next, click on the Add button.


- Lastly, hit OK.


Update drivers to USB root and generic hubs
- Right-click on the Start button menu and select Device Manager.
- After that, click on View and then choose Show hidden devices.
- Now, double-click on the Universal Serial Bus controllers to expand it.
- Next, right-click on the USB Root Hub and select Update driver.


- Choose Search automatically for drivers to download the driver automatically.


- Finally, repeat this step for all USB Root Hub and Generic USB Hub.
- You can also update USB controller drivers using third-party driver software. A third-party driver utility can scan your computer to identify any devices with outdated drivers.
- You can then choose to download and install the most recent drivers for the software.
Reinstall drivers for the USB device that isn’t recognized in Windows 11
- First, plug your USB device into your System.
- Type Device Manager on the Search menu and hit Enter key.


- Now, double-click on Disk drives to expand it.


- After that, right-click on your USB drive and choose Uninstall device.


- Lastly, click Uninstall to confirm.


- Then, Unplug your USB device from your System.
- Wait for five minutes and insert your USB again.
Note:- Windows will automatically reinstall the USB device driver after you connect it to the computer. To reinstall missing drivers, click Action and then Scan for hardware changes.
Whom I contact about fixing this USB error?
Microsoft support for Windows can still help you fix the USB device error. To do this, click the Get Support link from the Contact Microsoft Support webpage. After entering a problem description, click Get help and then Contact support.
Some users may prefer to post on Microsoft’s support forum for Windows. To open a text editor, click Ask a Question on this forum. Enter a question into the forum’s text editor and click on Submit.
The solutions listed above may be sufficient to eliminate the USB device error not recognized in most cases. This second solution is the most commonly confirmed to resolve the problem. Before you contact Microsoft support, give them all a shot.
To resolve the issue, you can also format your USB device. It will delete all files on the drive, but it’s not a good solution. Reformatting the device might be worth it if you don’t have any important files.
There might be other ways to fix the device not recognized error that was not mentioned above. You can share any other solutions to this problem in the comments section.
More from Digital Dopes:


