


It is extremely annoying to have your Asus laptop’s screen turn black when it starts up or while you are working on it. It can prevent you from logging in successfully or halt what you are doing. Although nobody wants to see a black screen, it is a reality that we can face this issue sometimes.


Causes of ASUS Laptop Black Screen
These are the most common causes of ASUS laptop black screen:
- Dust particles can get into your Asus laptop and cause damage. You will notice a black screen on your Asus laptop.
- The corrupted driver or system file.
- The graphics driver is outdated.
- It can be either software or hardware compatibility issues.
- Incorrect adjustment of the brightness or power settings.
- Problem with the laptop battery or its loosely connected cables.
- The problem occurs suddenly when the system hard drive is inaccessible.
- After Windows Update or BIOS update.
- Due to the peripheral devices that connect to the laptop.
- Due to over Heating.
- Unknown system or hardware issues.
Fix Asus Laptop Black Screen
These are six fixes that other users have used to fix the Asus Laptop Black Screen issue. These solutions may not be all that you need. Just work your way through the list until the one that suits you is found.
Reset the display mode
Sometimes, the black screen is just a glitch caused by the operating system losing its connection to the screen display.
- Turn on your laptop.
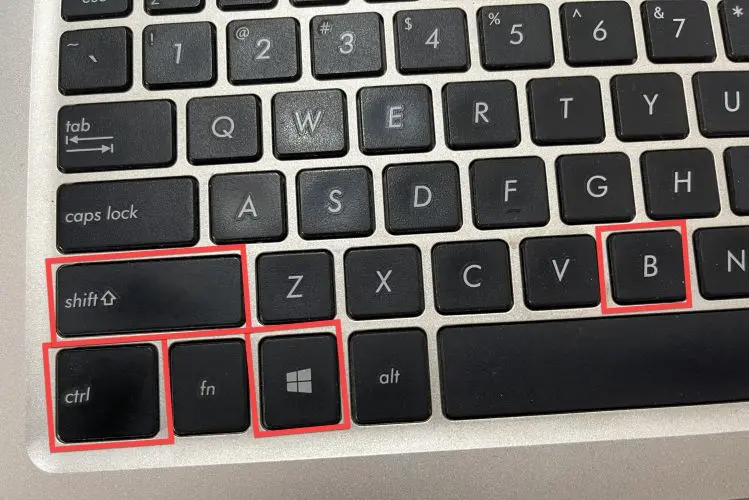
- Press Windows key + Ctrl + Shift + B at the same time to reset the display.

Hard reset
Black screen issues could also be caused by peripheral devices connected to your Asus laptop. You may notice the dots spinning during boot-up. You can perform a hard reset of your Asus laptop to narrow down your options.
- Turn off your laptop.
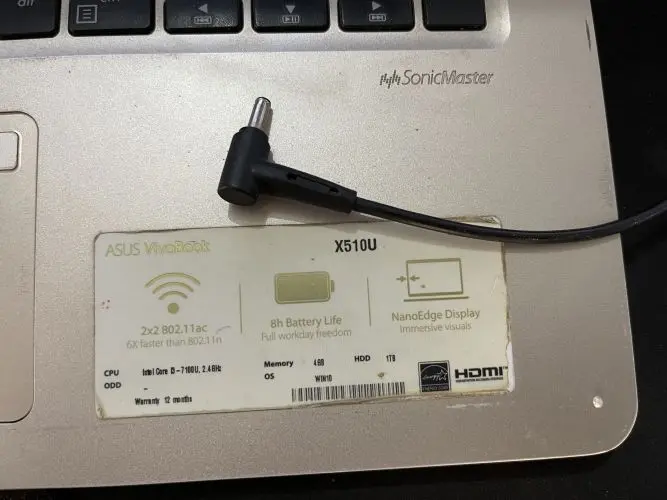
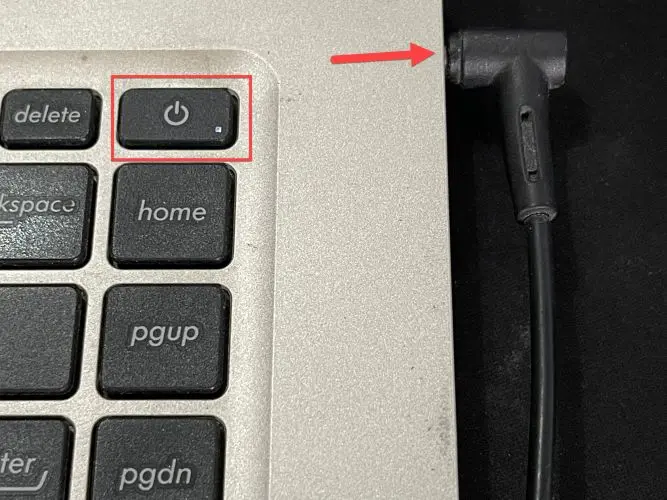
- Disconnect the power cord and battery (removable) from your laptop.
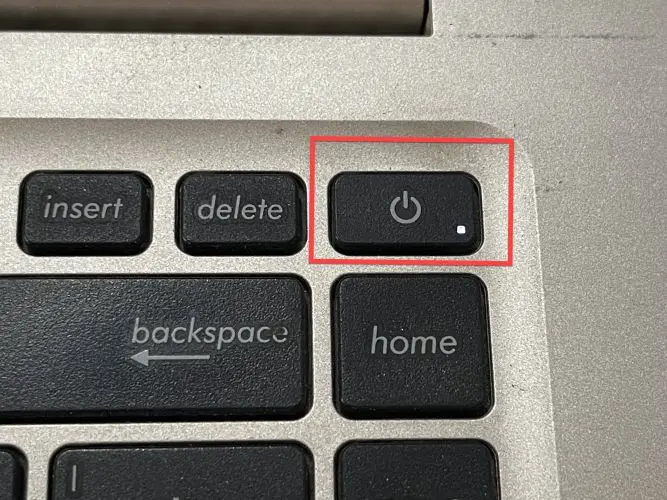
- Now, press and hold the power button for 60 seconds to reset your laptop.

Update your graphics driver
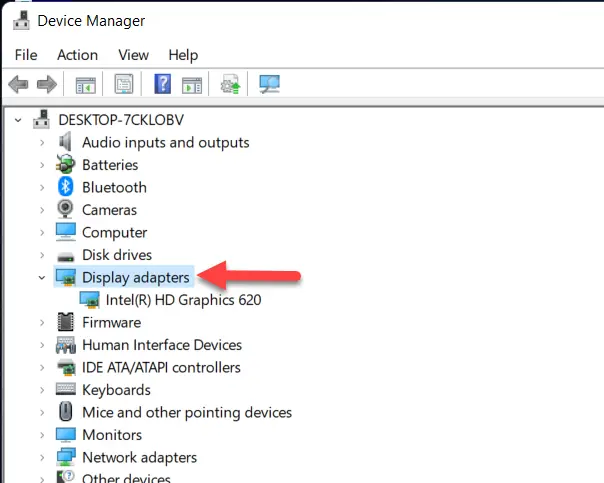
- Right-click on the Start button menu and select Device Manager.

- Double-click on the Display adapter to expand.
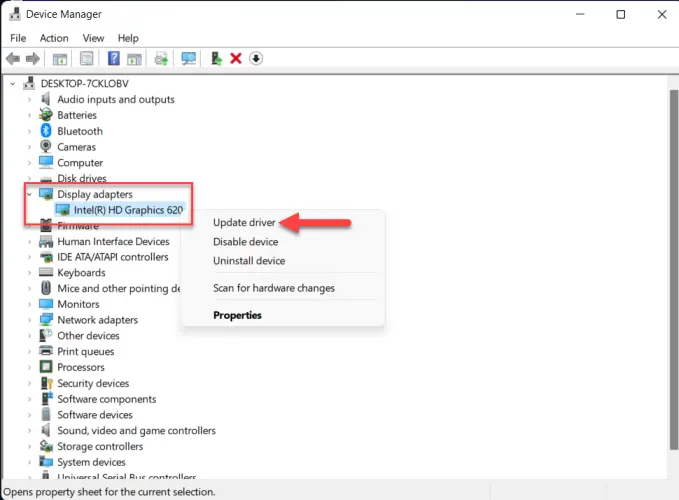
- Right-click on the Graphic card and pick Update Driver.
- Select Search automatically for drivers.
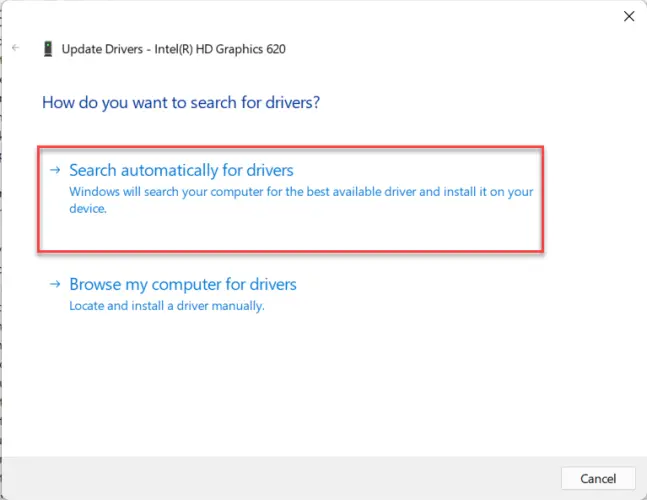
- Wait till the process finishes.


Restart the explorer.exe process
It is responsible for managing your taskbar, desktop, and other processes on your computer. If Explorer.exe is closed, your taskbar and desktop will disappear, and your screen will go black. To resolve the issue, restart Explorer.exe.
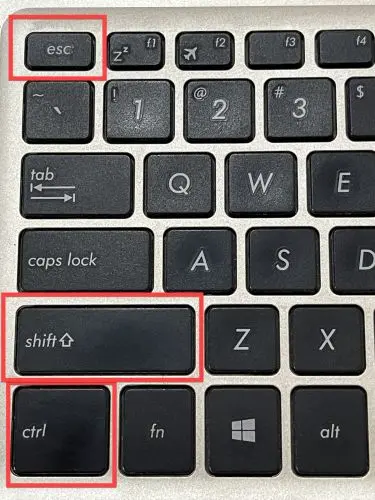
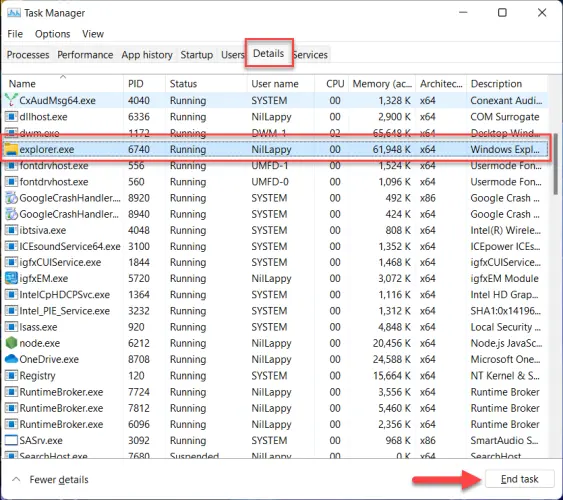
- Press Ctrl + Shift + Esc key together to launch Task Manager.
- Next, move to the Details tab, locate explorer.exe and click on End task.
- Reboot to check whether the problem is solved or not.


Disable fast startup
Windows 11’s new Fast Startup feature allows your laptop to start up quicker by saving the operating system to a hibernation folder. It does not always work well and can sometimes cause your screen to go blank.
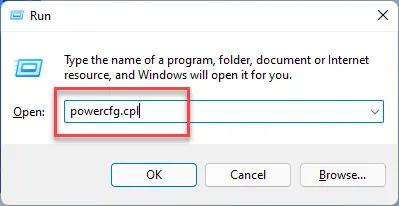
- Press Windows key + R to launch the Run command.
- Type powercfg.cpl and hit Enter key.
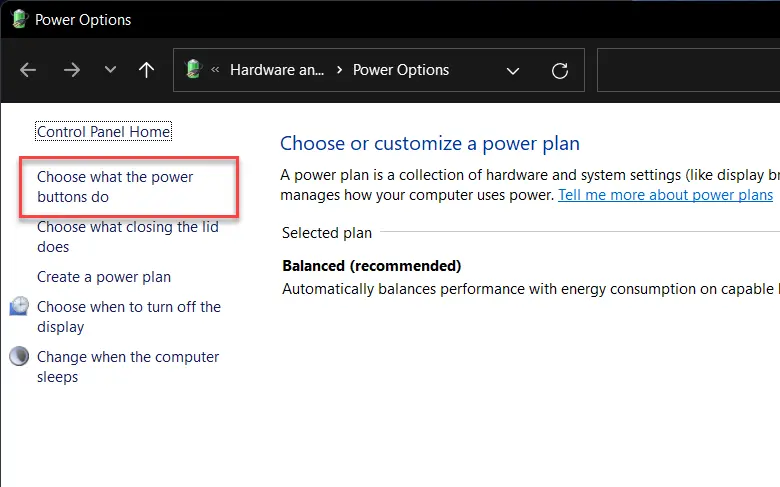
- After that, pick Choose what the power buttons do.
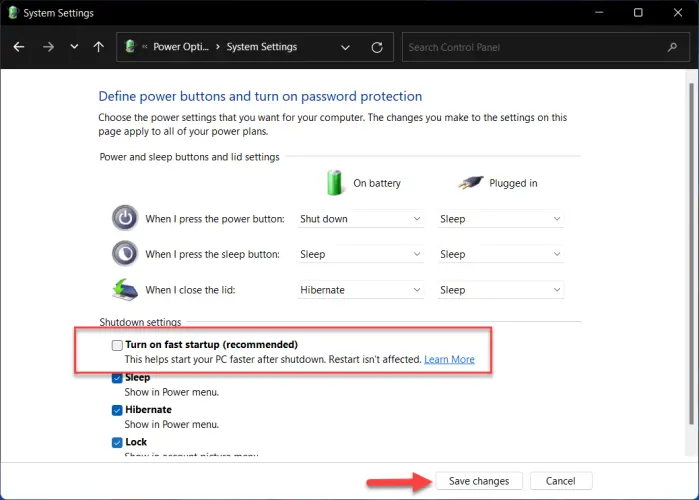
- Next, click Change settings that are currently unavailable.

- Uncheck the box, Turn on fast startup (recommended) option. Hit Save changes and close the window.
- Reboot your laptop to check whether your laptop’s screen displays appropriately or not.


Perform a system restore
This black screen problem can be caused by recent changes to your laptop, such as installing new programs or running Windows updates. You can execute a system restore to restore your laptop to its previous state.
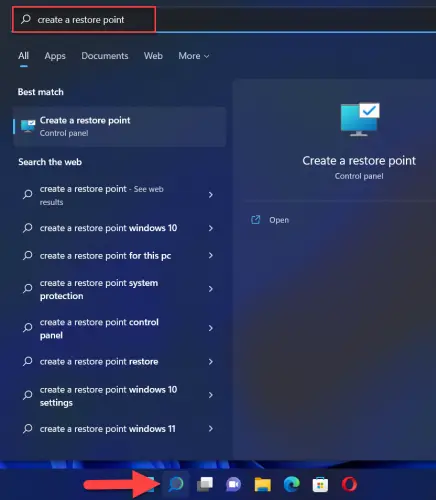
- Type Create a restore point on the Search menu and hit Enter key.
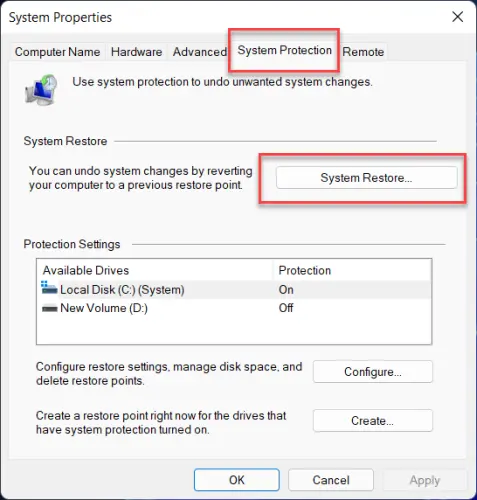
- Next, click on the System Restore under System Protection.
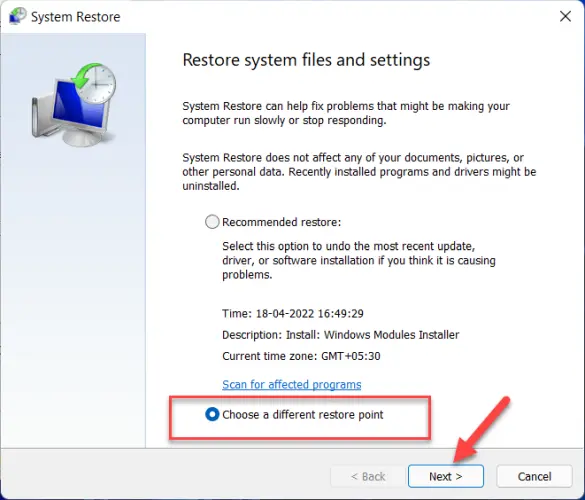
- Select Choose a different restore point and tap Enter key.
- Tick the check box Show more restore points, select the Updated file that you wish to revert, and click Next.
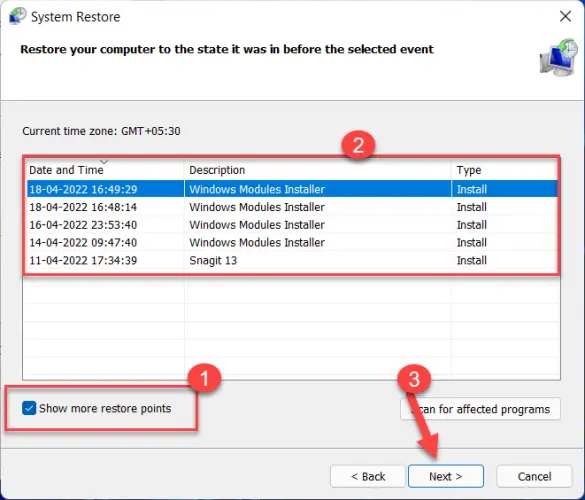
- Follow the screen to finish the process and Restart your laptop.


Final Word
Hopefully, this article has helped you solve the black screen problem on your Asus laptop. Please comment to me if you have any suggestions, questions, or ideas. Thank you for reading!
More from Digital Dopes:


")