


Windows 11 may be the most popular desktop OS, but there are still problems. This new OS is still experiencing the same issues as expected in the first few months after its release. Most of the issues that are currently being reported can be solved easily. We’ll show you how in this guide.
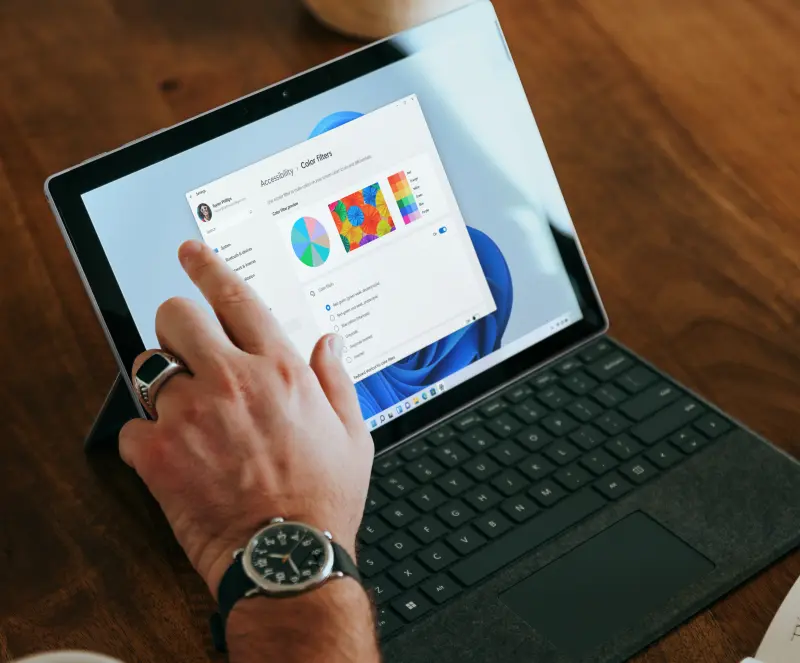

You can download and install Windows 11 if you aren’t using Windows 11. We have monitored this system since its inception. We are familiar with both the issues and solutions. You’ll find the following troubleshooting tips to help you get up and running after installing Windows 11.
People are having trouble upgrading to Windows 11 due to the new system requirements. The OS will require a new processor, which is most likely to have been purchased after 2018.
You will require to ensure your system meets the minimum requirements for Windows 11 before you can install it or make sure it runs properly.
Check Windows 11 system requirements
- 1 GHz or faster with at least 2 cores with a 64-bit processor.
- At least 4 GB RAM.
- At least 64 GB storage.
- UEFI and Secure Boot capable.
- Trusted Platform Module 2.0
- DirectX 12 or later with WDDM 2.0 Graphics card.
- At least 9-inch and 720p Display.
- Microsoft account and Internet connection.
Note:- You will need a Windows 11 bootable USB flash drive to install Windows 11 on your laptop or PC.
Install or Upgrade to Windows 11
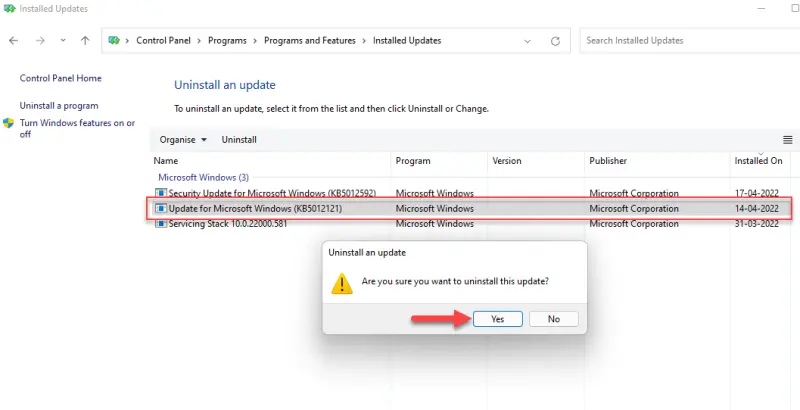
The first problem people face regarding Windows 11 is installing Windows 11 from USB because setup requires Trusted Platform Module(TPM) 2.0 and secure boot enabled. If your PC fulfills all the requirements, then you can Turn on TPM and Secure Boot in BIOS settings and proceed with the installation otherwise, visit our step-by-step guide to bypass Windows 11 requirements.
The upgrade/installation process is quite long. Follow our guide below to learn to install Windows 11.
Note:- You can also face the “Windows cannot be installed to this disk” error while installing Windows 11, follow our guide to fix the Windows Cannot Be Installed to This Disk Error.
Windows 11 still has Windows 10 Start Menu
Some people who tried Windows 11 beta before its release reported that they still see the Windows 10 Taskbar and Start menu after upgrading.
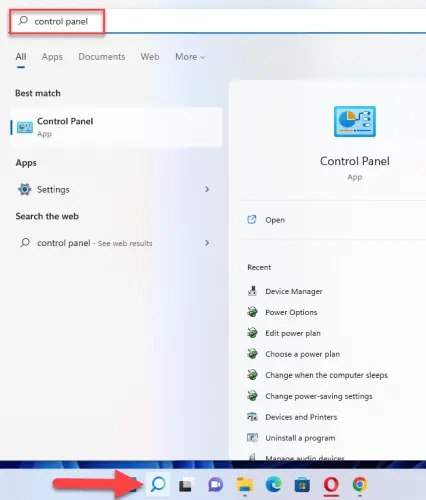
Type control panel on the Search menu and hit Enter key.


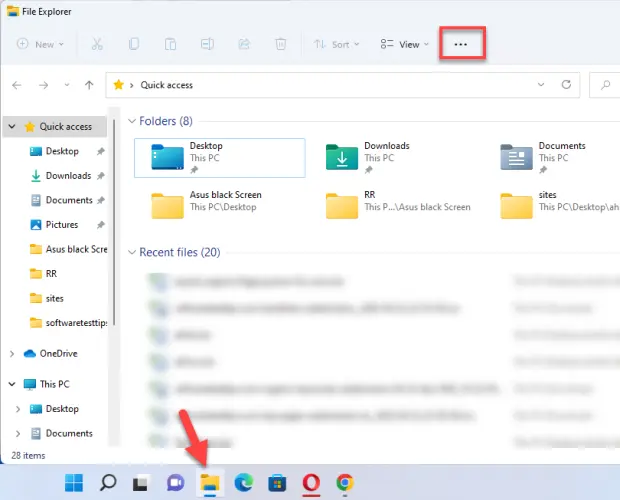
File Explorer still looks like Windows 10
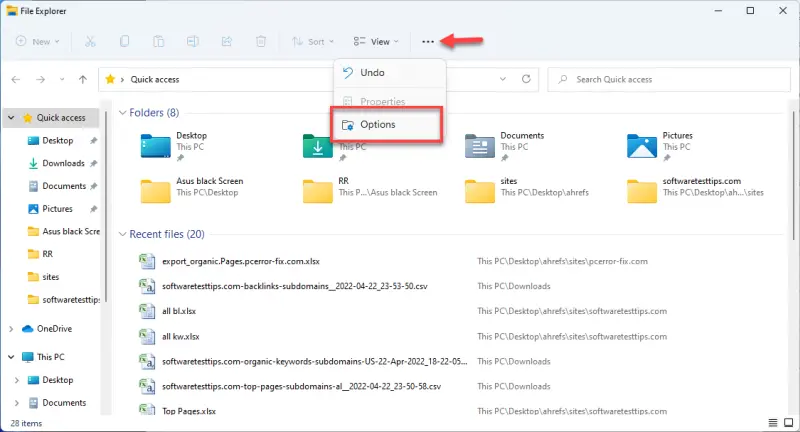
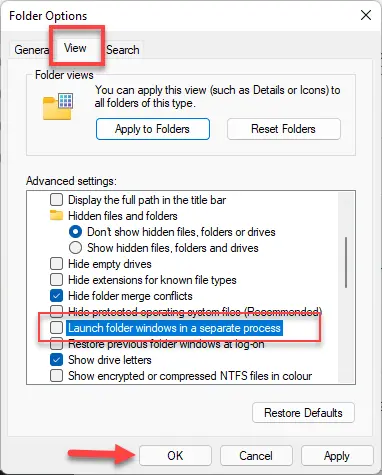
Some users complain that the File Explorer looks exactly like Windows 10 after upgrading to Windows 11.
Although this skin is a replica of the Windows 10 older layout, it’s not clear why some users have this set as their default. There is an easy fix.
First, open File Explorer by clicking on it.
Now, click on the 3 dots.


Search Option not working correctly.
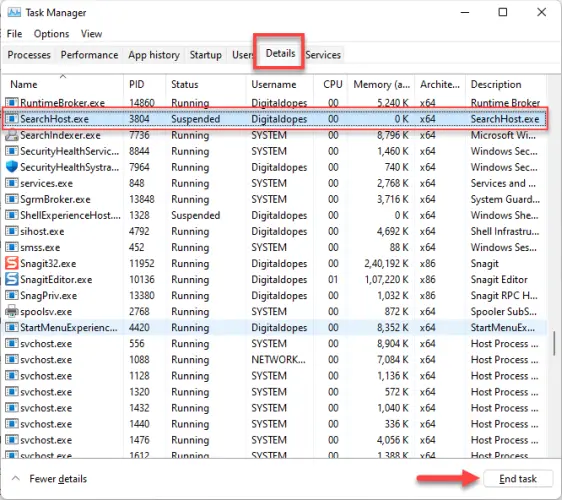
Windows 11 has a bug that causes the search bar to freeze, which can cause you to be unable to type addresses or search queries. Some users also reported that they could not view files or apps after typing their search queries in the search bar.
Press Ctrl + Shift + Esc key to launch task manager.
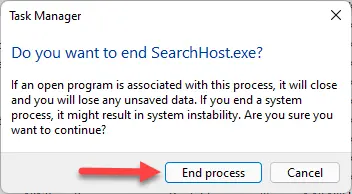
After that, move to the Detail tab, locate and select SearchHost.exe.


Distracting notifications
Distractions can be dangerous for many who work from home. Windows 11 probably won’t notify you via Slack chats or emails about Amazon delivery when you have a report due within the next day.
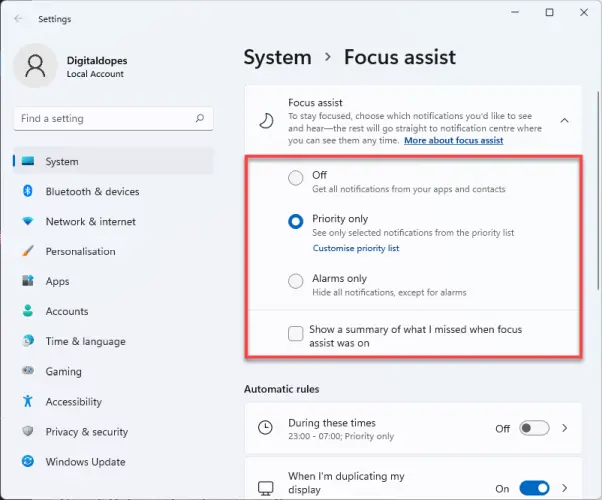
Microsoft has improved the quality of its notifications in Windows 11 to make them less distracting. Thanks to a new mode known as focus assist.
Click on the date and time icon in the bottom-right corner of the taskbar.
Select Focus assist settings.
![]()


Fix High Memory Usage in Windows 11
Windows 11 displays the “High Memory Usage error” because your system has run out of memory. Low memory can cause apps to freeze or lag. This indicates that your system requires an upgrade. Windows 11’s “High Memory Usage Problem” can be fixed. This guide contains practical steps to solve high memory usage issues in Windows 11.
This is a major issue and these are the reasons behind High Memory Usage warning in Windows 11
- Close Unnecessary Apps
- Disable Apps from Running at Startup
- Disable SysMain Service
- Defragment Hard Drive
- Increase Virtual Memory
- Change System Performance Settings
- Run Full System Scan
- Make Changes to the Registry
- Increase the RAM
I have just named the issue above. Follow the complete guide to Fix High Memory Usage in Windows 11.
Error Code: 0x0 0x0 in Windows 11
We investigated the issue and discovered that application overlap, system inconsistencies, or incorrect system settings were often to blame. These are great ways to resolve this problem. Let’s get on with it!
-
- Use the Disk Cleanup Utility to delete temp files
- Eliminate Competing Programs
- Reinstall the Graphics Card Driver
- Install the Pending Updates
- Troubleshoot in Clean Boot State
- Reset Your PC
I have just named the issue above. Follow the complete guide to Fix Error Code: 0x0 0x0 in Windows 11.
Fix USB Device Not Recognized Error in Windows 11

If you plug a USB device into your computer, it will display an error message. Your USB device isn’t working. The most common error in Windows is the USB Device Not Recognized error. This article will show you how to fix the USB Device not Recognized error in Windows 11. It allows you to use all USB devices.
Fix Windows 11 Slow Startup Issue
System boot times can be slower when a computer has lower specifications. Your computer may support the latest Windows OS version. It may still be compatible with your computer, but it will require more resources and higher hardware performance. These are all possible for a slow Windows 11 startup.
However, there can be many other reasons behind a Windows 11 Slow Startup, and there can be numerous ways to fix it.
Some of the common fixes are listed below:
- Disable Startup Programs
- Update Your Windows OS Build
- Update Graphics Drivers
- Run Windows Update Troubleshooter
- Reinstall Windows 11 on an SSD
- Delete WDI directory files
- Delete Temporary Files
- Enable Storage Sense
- Clear Background Running Tasks
- Optimize Drives
- Scan for Virus & Threats
- Turn Off Fast Startup
- Reset This PC
- Go Back to the Early Version of Windows
I have just named the issue above. Follow the complete guide to fix Windows 11 Slow Startup Issue.
Fix Cortana not working in Windows 11
A valuable and indispensable addition to Windows 11, Cortana is an essential feature. Cortana’s inability to work can cause frustration and decrease the system’s functionality. There is a way to get around it.
Many users have complained about Cortana, despite it being an excellent feature of Windows 11. These are some of the problems that users have reported:
- Cortana does not work– Many factors can lead to this problem. Similar topics are covered in our article Start Menu not working. It can be found at, so be sure to check it out.
- Cortana stops working after an update– Cortana stopped functioning for some users following an update. To fix the problem, re-register Universal Applications.
- Cortana keeps closing – A second problem you may encounter is: You can solve the problem by opening a new account.
Cortana cannot be used for opening, searching, loading, talking, or opening files. One of our solutions can resolve most of these issues.
Follow the steps to resolve the problem:
- Change your Region
- Check your firewall
- Create a new user account
- Check your antivirus
- Perform SFC and DISM scans
- Re-register Universal apps
- Run chkdsk scan
- Install the latest updates
If you want to see the complete tutorial. Follow the guide to fix Cortana not working in Windows 11.


")
