


This is a step by step guide on how to install two Hard Drives in one laptop, HDD + SSD Dual Drive Setup in a single Laptop and with the help of this method you can also install two SSDs or Two HDDs in a Single Laptop.
An additional drive increases data storage space and these drives can also be used to install multiple Operating Systems on the Laptop.
Laptop is a portable device and anyone doesn’t like to carry an external drive like external Hard Drives with themselves to increase storage space and the main problem is that all the Laptops have only one HDD or SSD Storage space in it.
If you follow correctly the methods shown in this guide then you will be able to increase your laptop’s storage space with having to install an internal Hard Drive (HDD) or Solid State Drive (SSD) and your Laptop will still be portable, you don’t need an External Drive for that.
How to use Two Hard Drives in a Laptop?
This is not a tutorial about Hard Drives storage space cleanup. If you genuinely want to increase the storage space you need to physically install the Drive.
Now the question must be coming on your mind that how can I set up 2 Hard Drives in one Laptop?
The answer to this question is simple and you can do this by removing the CD/DVD-ROM device from the Laptop and install an HDD or SSD in that place.
Before beginning this guide you must know what are the required things you need, To set up Two Hard Drives In Single Laptop.
- A Hard Drive Caddy.
- A Hard Drive or an SSD.
- and a screwdriver.
All these three components are important, You cannot complete a dual drive setup without them.
Install Two Hard Drives in One Laptop
A Caddy comes with a screwdriver and few screws which are required to hold the HDD.
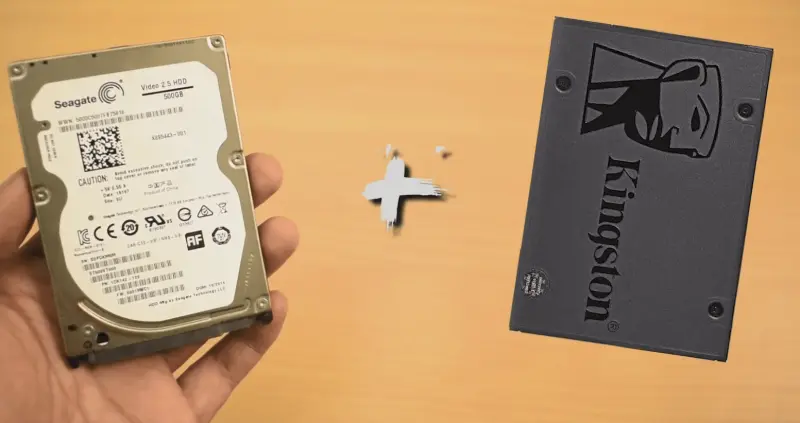
In this example I have used a Toshiba Laptop and a 9.0MM Universal HDD Caddy to Install HDD + SSD in a Single Laptop.
Step #1: Unpack the 9.0MM Universal HDD Caddy.

After unpacking it will look like this.

Step #2: Set the HDD or SSD in the cady.

Step #3: Fit all the screws tightly.
Step #4: Open Laptop Battery and the back-cover which contains the CD/DVD ROM symbol.

Step #5: Open the screws and then push the clip to open the CD/DVD ROM. This will Pop out the CD/DVD-ROM Drive.

Step #6: Manually Eject the ROM Device with the help of a Pin.

Step #7: Open the front cover and the back clip from the CD/DVD-ROM device and set it on the HDD Caddy and the HDD caddy will look like this :

Step #8: Inseart the HDD Caddy into the Laptop, tight all the screws and fir the back-cover & battery.

Step #9: If your HDD or SSD is a new one, You need to create a new partition to make it visible and working in the Windows Explorer tab. You can create a new partition for this new device from the Disk Management Tool.
To open this tool you need to press “Windows key” + “x” in your keyboard at the same time.
and then click ok “Disk Management“.
Select the new HDD or SSD from the list and create a new Partition and even you can format your drive.

After you do that Your HDD and SSD both will start to be visible in the Windows Explorer and start working.
Please appreciate my hard work by sharing this guide among your friends through social media and if you still have an uncleared doubts, please feel free to comment on it and I would love to answer them.


")