


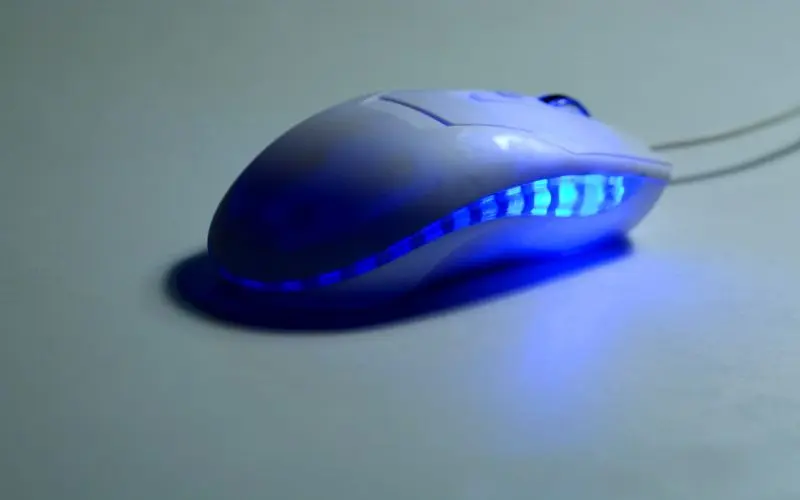
The mouse is necessary hardware, so Windows 10 already has generic drivers organized for it, but there is no guarantee that they will give you the best user experience. Therefore, it is always good to install and use a proper mouse driver instead of a generic driver.

Learning how to uninstall and reinstall the mouse driver will become an easy-peasy task for you after reading this blog. Sometimes, our mouse is not working correctly, and simply reinstalling the driver can be the solution to that. But on the other hand, there are times when the device software is not updated, which can cause a lot of chaos. But if you have already updated and still you find any deviation, reinstall the mouse driver; it will give you a way out.
Picking the right driver for your mouse
When you have to choose the right driver, you have the above three options. Though I personally suggest you buy it from the manufacturer.
Mouse drivers that are installed via Windows updates can not be updated and can cause much chaos.
Also See: How to fix mic sensitivity in Windows 10
Download Latest Mouse Drivers on Windows 10
Mouse Drivers on Windows 10 can be gathered from three location-
- Windows Updates: If, according to Windows 10, the generic drivers are outdated, it will find proprietary mouse drivers via Windows updates and install them. It will be a consistent procedure so that it may leave you with outdated or conflicting drivers.
- Driver Finder/Fixer Software’s: You can find and download the latest mouse driver in Windows with this software. Example Driver easy, Driver Genius Professional, Driver Doctor.
- Computer Hardware manufacturer websites: Mouse Manufacturers like Dell, HP, Lenovo, and others supply drivers for the products that they sell. You can find and download the latest mouse drivers for the system.
- Mouse manufacturer’s website: According to your mouse’s manufacturer, you can download the driver from its official Site.
How to reinstall Mouse Drivers in Windows 10
There are some steps that you need to follow to do the same. They are-
- Right-click over the start button or press Windows key+X.
- From this drop-down menu, click on Device Manager.
- Device Manager Menu will open, and here all the installed devices are visible, which are in the system. We wish to reinstall the mouse-related application and click on the small arrow that you see beside the- Mice and other pointing devices.
- Find the driver that you need to uninstall and right-click on the device’s name and then click on Uninstall Device.
- A dialog box will appear to get a confirmation from you about uninstalling the device.
NOTE: The checkbox “Delete the Driver Software for this Device” should not be checked if it appears. It will allow the operating system to reinstall the driver on its own when you restart the system.
Click on Uninstall or OK in the dialog box. 
- Restart your system, and after this, the system will reinstall the mouse driver on your system spontaneously.
Steps to follow if new Mouse Driver is not working in Windows 10
I know, new device drivers are meant to improve the performance. But there are times when even the new drivers can cause problems. If you think that the problems are due to new drivers, you can go back to the old one.
- In this also install the device driver using any of the procedures mentioned above. Or you can type devmgmt.msc on taskbar search and then press enter.
- Once you have an access to the Device Manager Window, search for Mice and Other Pointing devices.
- Right click on the driver as you did before and click on properties.
- In the properties window, click on the Driver tab. Then click on Roll Back Driver button.
Note: A box will appear which will ask you about the reason for roll back. Select your Reason and Click OK.
________________________________________________________________________
I hope my blog was helpful for you. Thank you for reading. If you have doubt, do mention it in the comment section below.


")