


Temporary files on Windows 11 are files that are temporarily stored by the system or apps on the device. They are not essential to regular operation. Windows 11 contains many temporary files. These include the files left over from installing new versions, upgrading logs, error reporting, and temporary Windows installation files.


Temp files are generally not a problem. They can, however, take up space on your hard drive over time. It can cause storage problems with your laptop or desktop computer. Windows 11 users have several options to remove temporary files safely to free up space.
This guide will show you how to delete temporary files from Windows 11 quickly.
Ways to Remove temporary files on Windows 11
There are several methods to do this and we will discuss all possible ways below.
Using Run Command
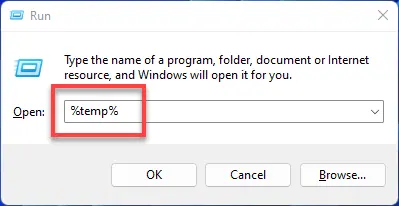
- Press Windows key + R, type %temp% and tap Enter.
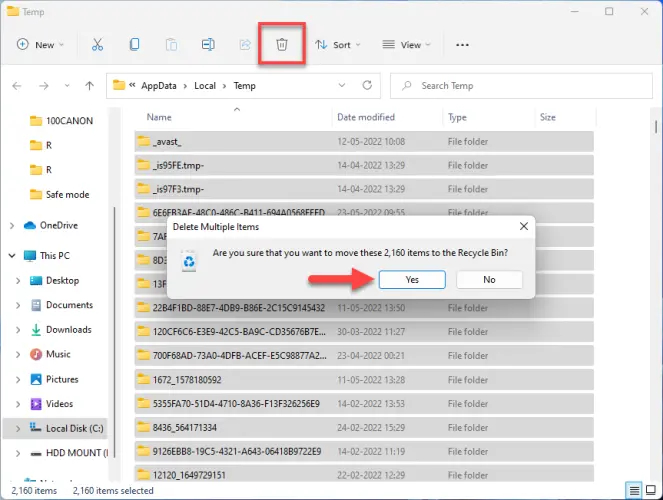
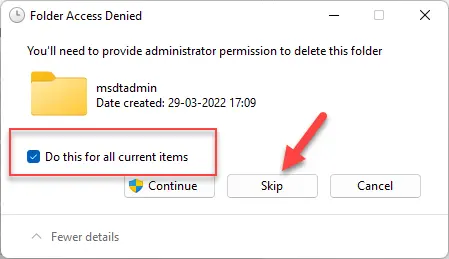
- After that, hit Ctrl + A to select all files and tap the Delete key.


Using Settings
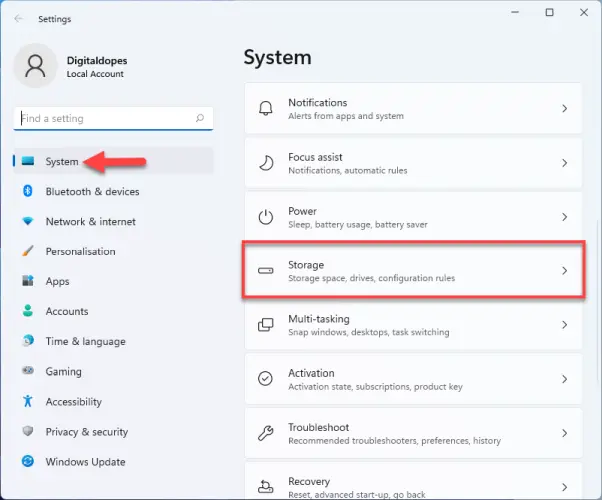
- Open settings by pressing Windows key + I.
- Next, select the Storage option from the right panel.
- Now, select Temporary files under Local Disk.
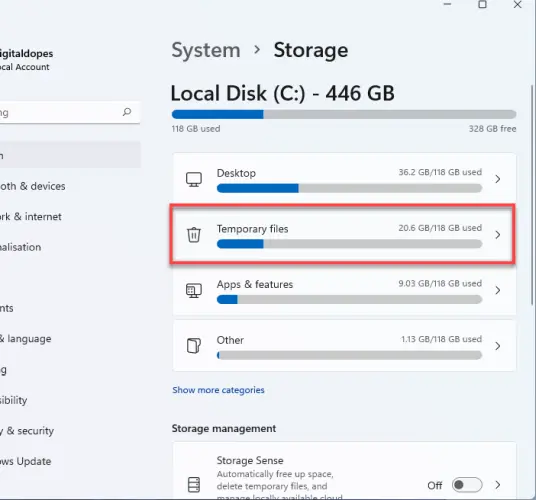
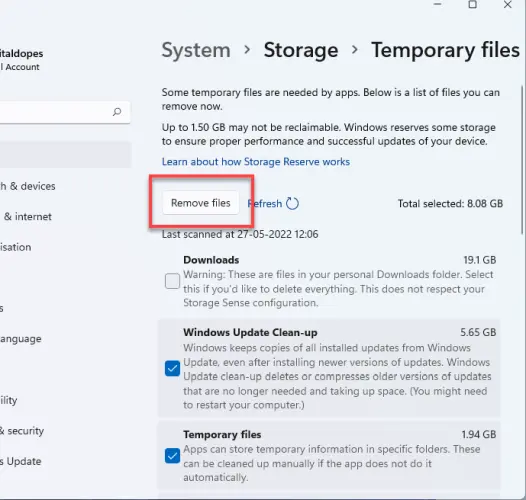
- By default Recycle bin is unchecked, you can add it.
- Lastly, click on Remove files.
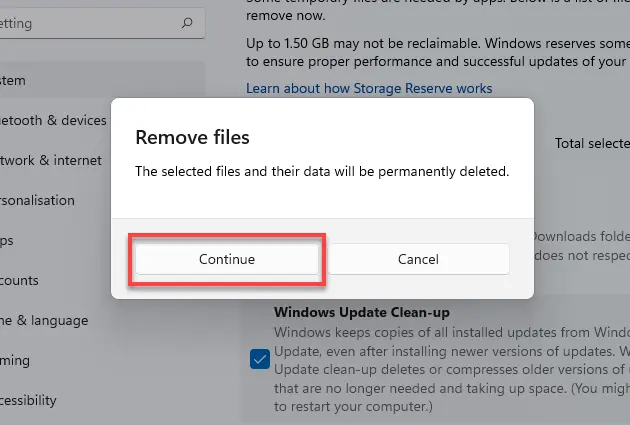
- You will get a warning sign, select Continue.


From Disk Cleanup
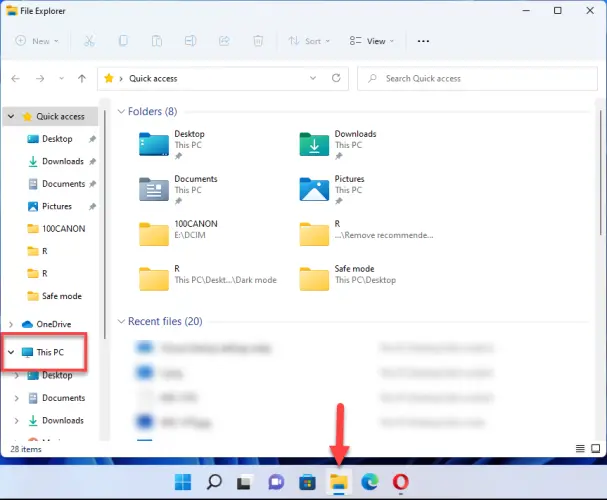
- Click on File Explorer and select This PC from the left side.
- Right-click on the Windows 11 installation drive (C:) and choose Properties.
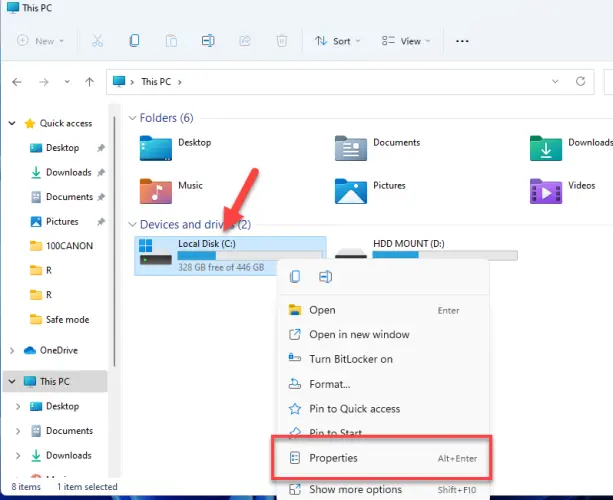
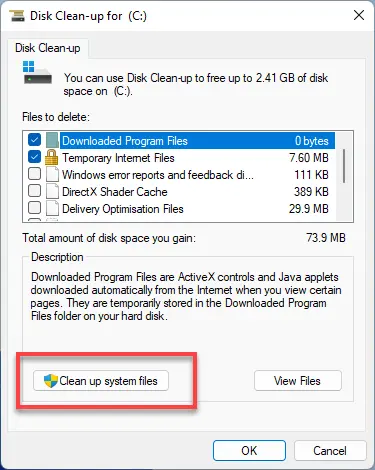
- Next, tap on the Disk Cleanup option.

- After that, select Clean up system files.
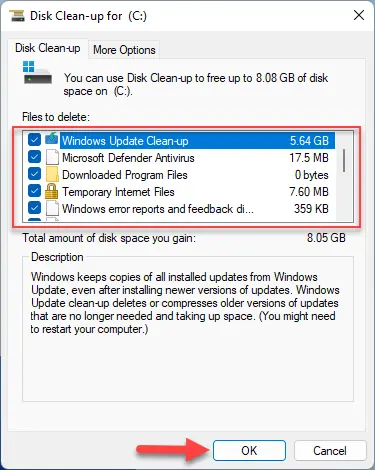
- Now, tick the boxes you wish to delete and hit OK.
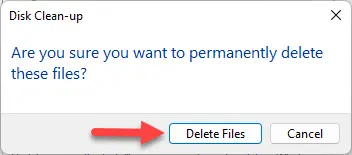
- You will receive a warning message. Tap on Delete files.


Final Word
Deleting temp files is a great way to recover storage space. However, it can also help speed up your computer if it’s slow.
More from Digital Dopes:-


