


The vital Windows utility Check Disk (also known as chkdsk) applies to monitoring your disks’ health and performance. The Check Disk utility is a great tool to use if your hard drives are acting up or you get disk errors.
There are dozens of parameters available for the chkdsk command. It can be confusing to figure out when and what parameters to call. Here’s everything you need for the chkdsk repair command.

What is a check disk (chkdsk command) and what does it do?
Windows includes the Check Disk utility. It scans your hard drives and finds any corrupt files.
Check Disk checks for physical and logical errors in a file system and file metadata. The Check Disk utility automatically fixes any logical errors in the master file table of the disk. It is a vital structure that tells how the files are organized.
Check Disk can fix minor problems such as file size and time stamp misalignments. However, more significant issues like physical errors and physical damage are flagged and marked, so they are not used or caused further damage. It ensures your disk’s integrity and functionality and that data is not lost.
Although the Check Disk utility’s workings are difficult to comprehend, you don’t need to be an expert to use it correctly.
When to use Check Disk on Windows
If your computer shows boot errors (including those listed below), it’s worth running the Chkdsk utility.
- 0x0000007B
- Blue Screen of Death errors
- 0x00000024
- Fatal error reading boot.ini
These are just several of the problems you might encounter. If your disks keep throwing errors or you have a lot of corrupt files, you can run chkdsk to scan for and fix any soft bad sectors.
There are many reasons these problems may occur. You can expect system file corruption if your system suddenly shuts down or crashes often.
How to use the chkdsk repair command in Windows 11
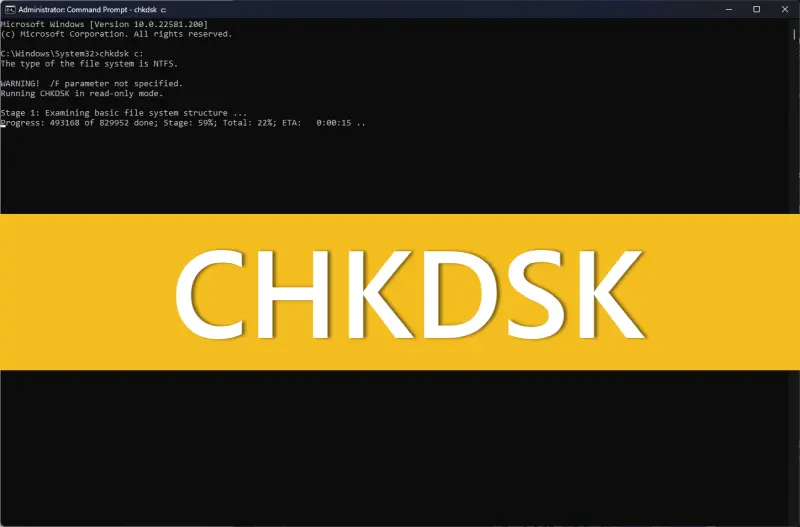
The Check Disk utility can be begun by using the simple command chkdsk repairs. You can do it using the Command Prompt or PowerShell. However, you will need administrator privileges to run your Windows terminal.
- Type cmd on the Search menu and select Run as administrator.

- Type or paste the below command and hit Enter key.
“chkdsk”

- This simple command will allow you to run the Check Disk utility in read-only mode, provided there aren’t any drives or parameters highlighted.

- Type or paste the below command if you don’t need to dismount your drive and run an online scan rather (the disk remains active):
“chkdsk c: /scan /forceofflinefix”

- Next, press Enter key. The Check Disk utility will detect the issues and then queue them up for you to resolve when the volume goes offline.

- You can scan a volume to fix problems as you use it. Enter the following command to do this:
“chkdsk c: /r /scan /perf”

- After that, hit Enter key. Check Disk will detect and fix any problems occurring with your selected disk as you use it.


Meaning of chkdsk parameters in Windows 11
Except for the chkdsk command, the specified disk volume, and all other parameters, the Check Disk utility uses everything else to determine what to do. These are some crucial parameters for chkdsk and what all do:
- /spotfix – Dismounts the volume briefly to fix issues sent to the log file.
- /scan – runs an online scan (volume doesn’t need to dismount) but does not repair the volume.
- /r – It tells chkdsk to look for bad sectors and retrieve readable information from them. If /scan is not specified, /f is implied.
- /perf – Provides chkdsk to use more system resources and run the scan fast (needs the /scan command).
- /f – This command fixes any errors discovered with the disk.
- /x – Implies /f and will force dismount the volume if needed.
- /? – Gives help with chkdsk commands (those listed above and several others).
These command parameters are not the only ones supported by chkdsk. Many other commands can be used in conjunction with chkdsk.
Popular chkdsk commands
- chkdsk /f /r /x — Dismounts the volume, fixes bad sectors, and retrieves readable info.
- chkdsk /f /r — Fixes bad sectors too and retrieves readable info.
Use chkdsk for boot partitions in Windows 11
Your system drive is the boot partition. It is what your computer boots from. It is usually the C: drive. The Check Disk utility will scan it and repair it correctly if not handled differently.
- It is safe to say that chkdsk can’t do this if the computer has been used. The Check Disk utility allows you to restart your computer before it boots up. It will ensure that the command is available for all access. Enter the following command to do this:
chkdsk c: /r

- Next, hit Enter key. The message that Check Disk cannot lock the current drive. It is due to another process using it will appear. Instead, it will ask if you would like to schedule it for the next system restart. Type Y, then press Enter key.

You can also restart the system and continue with the scan if you wish.


Other way to check disk in Windows 11
- Press Windows key + E to open File Explorer and click on This PC from the left-hand side panel.

- Right-click on the drive you wish to check and choose Properties.

- Now, go to the Tools tab.

- After that, click on the Check.

- If there aren’t any errors, Check Disk might tell you not to scan the drive. Click on Scan drive if you still want to scan it.


FAQs
It can be difficult to use the Check Disk utility, particularly with all of its command parameters. We answer a few common questions so you can understand what check disk is capable of.
Can I use a check disk on an external drive?
You can use a check disk on all drives, even an external one. When you run the chkdsk command, make sure that the drive name is specified. Alternate methods are also available.
Will check disk repair corrupt files
The chkdsk utility scans and fixes the most corrupt errors on a disk. It is essential to run it as an administrator.
How to view chkdsk scan output logs in Windows 11?
- Press Windows key + R, then type eventvwr and hit Enter key.

- Double-click on the Windows Logs to expand.

- After that, click on the Application.

- Scroll down and locate the log that has Chkdsk in its “Source.”

- Double-click to get the output logs.

This is how to use the Windows chkdsk command. It will give you a better understanding of the Check Disk utility and when it should be used.


More from Digital Dopes:


